
Prefer not to leave your phone number?
No problem!
Schedule an Appointment at your Convenience
(Only email is required)
Schedule an AppointmentOr Call Now
844-545-1881
 By:
Last Updated: Feb 04, 2026
By:
Last Updated: Feb 04, 2026
Discover how to properly transport a recliner to your new house to make your move seamless, easy, and as cost-effective as possible. Let our guide explain everything you need to know to properly move your recliner.
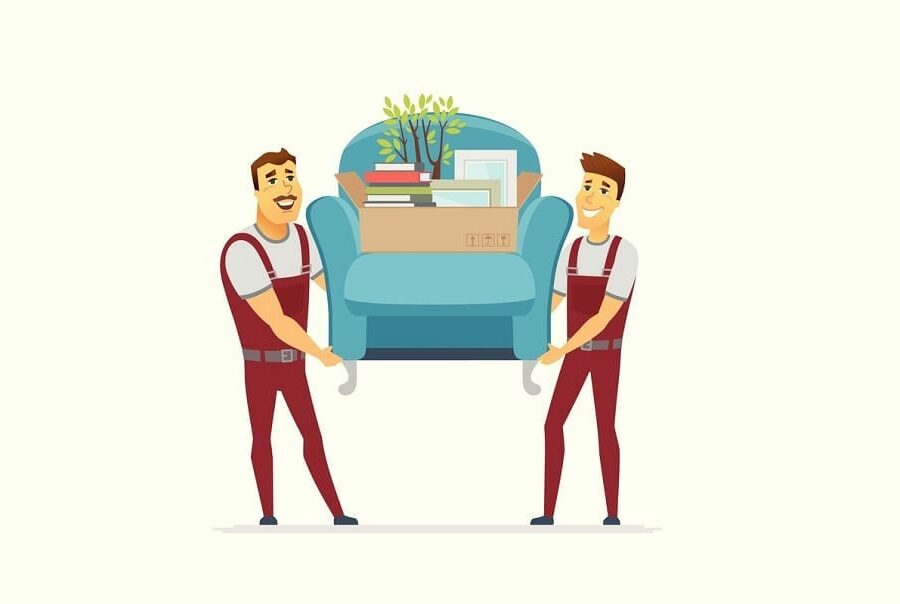
When you’re moving a recliner into your new place, it can come with challenges. Planning how your family or movers will help you move the recliner is essential.
To effectively transport your chair you must disassemble it correctly, wrap it in bubble wrap, and either move it yourself or have the moving company handle transferring it to your new home.
Recliners come in types, such as the two-position recliner and powered recliner each requiring considerations during the moving process.
The most common type of recliner is the two-position recliner. These recliners often just have a lever feature on the side to go from position to position, eliminating the use of electric systems altogether.
As a result of the lack of mechanical equipment involved on the inside of these chairs, they’re often much lighter and easier to move. Moving on will likely require fewer people for the heavy-lifting aspect.
These recliners are the most difficult ones to move. They have motorized systems inside to move the chair up and down to the desired position whoever is sitting it in sets it to.
They also can come with additional features such as massage options, headrest add-ons, and sometimes even heat.
Because of the amount of technology in these recliners, they’re often much heavier and harder to move.
The first step of the process of moving your recliner is removing each piece. To do this, you’ll likely need the following tools.
If you have access to your recliner’s instruction manual, you can simply work backward by removing each piece as you look at how it’s put together. Instead of building it, you’re just taking it apart.
Your recliner will break down into the different parts that it came in the original box with. However, the dissembling process looks slightly different than the assembly process.
Follow our guide for disassembling each piece of your recliner to make sure nothing gets damaged or broken in this process.
Once you have all the parts of your chair removed, it’s time to move everything. Keep in mind, that this will look different depending on your chair. You may only be able to remove a neck support attachment or the footrest on some chairs, and on others, you can fully disassemble it.
The most important part of moving your recliner is wrapping it properly. Bubble wrap remains a great choice, for ensuring your chair stays safe during the move. If you’re dealing with a chair that can’t be fully disassembled, it’s best to get some friends or family members to assist in lifting and wrapping it successfully.
Once your chair is wrapped, put all of the bolts, screws, and nuts in a bag just so you have them all in one place.
Once you’ve settled into your palace and are ready to reassemble your recliner, position it at the center of the room. Open up the bag with all the screws and unwrap the bubble wrap. Have your helpers or moving company hold everything in place as you put the chair back together.
Then have them help you relocate the chair to wherever you want it in your new house, and you’re all set!
Moving a recliner can be a daunting task, but as long as you follow these simple tips, you’ll be well on your way to a smooth and safe move for your comfy chair! We wish you the best on your moving adventures, and cheers to starting new chapters in life!
Meet Tommy, a writer from San Diego, California with a passion for interior design and moving! Coming from a family of interior designers from San Diego, he’s been involved in the world of moving and helping to create beautiful homes for the places people move to. He’s also moved over ten times in various states such as California, Washington, and Arizona! Through these moves, he’s worked with a variety of moving companies, and prides himself on knowing what to look for and how to have the safest, smoothest move possible! For the past few years, he’s bringing his talent of copywriting and knowledge of moving together to help people all across the world start new chapters in their lives through moving! When he’s not busy writing, you can find him doing extensive research all to help your moving process.